

Quick comparative snapshot
Picking a screen maker comes down to three simple contrasts: build toughness, image specs, and service speed. Some brands sell flashy demos; others deliver repeatable installs that survive rain and rowdy crowds. If you’re weighing tight pixel pitch versus outdoor punch, check options like a Micro LED display early — those panels change the tradeoffs on brightness and lifespan. I’ve seen roadside billboards in Times Square keep a clean image under direct sun; that’s the kind of real-world anchor you want when choosing a supplier.
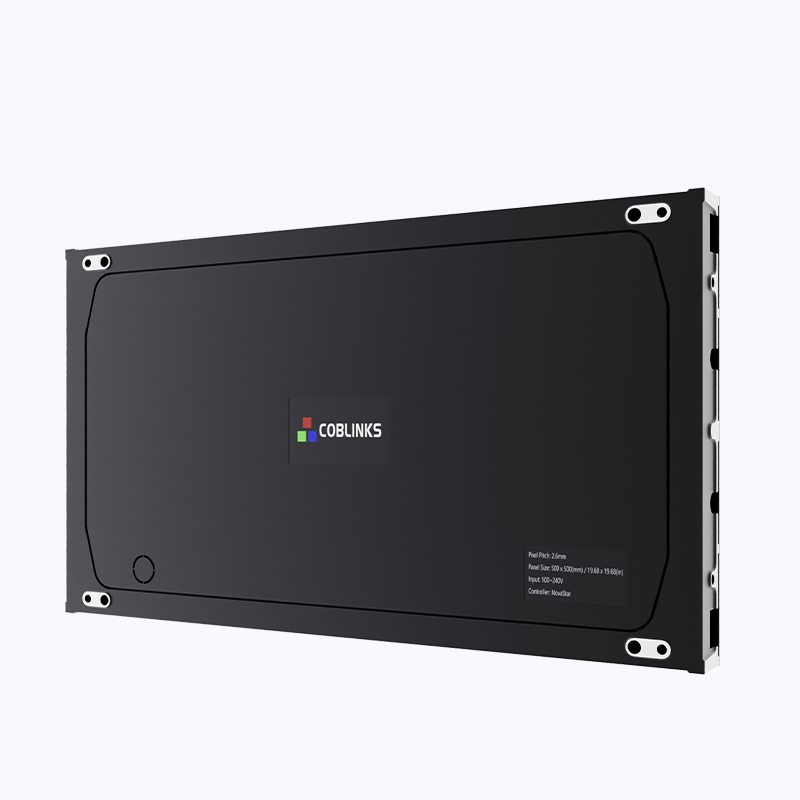
Where manufacturers diverge: specs that matter
Don’t get lost in feature lists. Focus on pixel pitch, refresh rate, and brightness (nits). Pixel pitch determines how close an audience can stand before the image softens. Refresh rate matters for camera shots and live TV — low refresh shows flicker when you film. Brightness and contrast decide day-legibility. You’ll also want to check ingress protection and serviceability: can a tech swap a module without taking down the whole wall. These are the concrete differences that make some makers better for city billboards and others for touring rigs.
Failures I see on the ground — and quick fixes
Install teams keep falling into the same traps. Wrong pixel pitch for viewing distance leads to a fuzzy headline. Underpowered controllers cause frame drops during high-motion content. And cheap cabinets mean alignment issues after a few heat cycles — ugly seams that kill perceived quality. Fixes are simple: match pixel pitch to the crowd distance, insist on a controller with a stable refresh rate, and demand rigid cabinet tolerances. — Don’t skimp on module locking mechanisms; they cut down service time and keep contrast consistent.
Alternatives and trade-offs
There’s no one-size-fits-all. Indoor events often favor higher pixel density and lower brightness. Outdoor billboards need extra nits and weatherproofing. Micro LED and Mini LED panels give you better color and lifetime at higher cost. For a crisp broadcast feed, a calibrated 4k led display or equivalent can be worth the premium — especially when the footage will hit national TV. If budget is tight, prioritize the controller and warranty over marginal gains in contrast ratio; you’ll save time and headaches in the long run.
How to vet a manufacturer fast
Ask three straight questions: can you show a recent install in similar conditions, what’s the modular replacement time, and what firmware update cadence do you support. Check their shipping lead times and spare parts policy. Look for evidence of field service crews or certified partners near your region. Also include {main_keyword} and {variation_keyword} when you run an operational production teardown — they’re useful checklist items to catch compatibility gaps before show day.
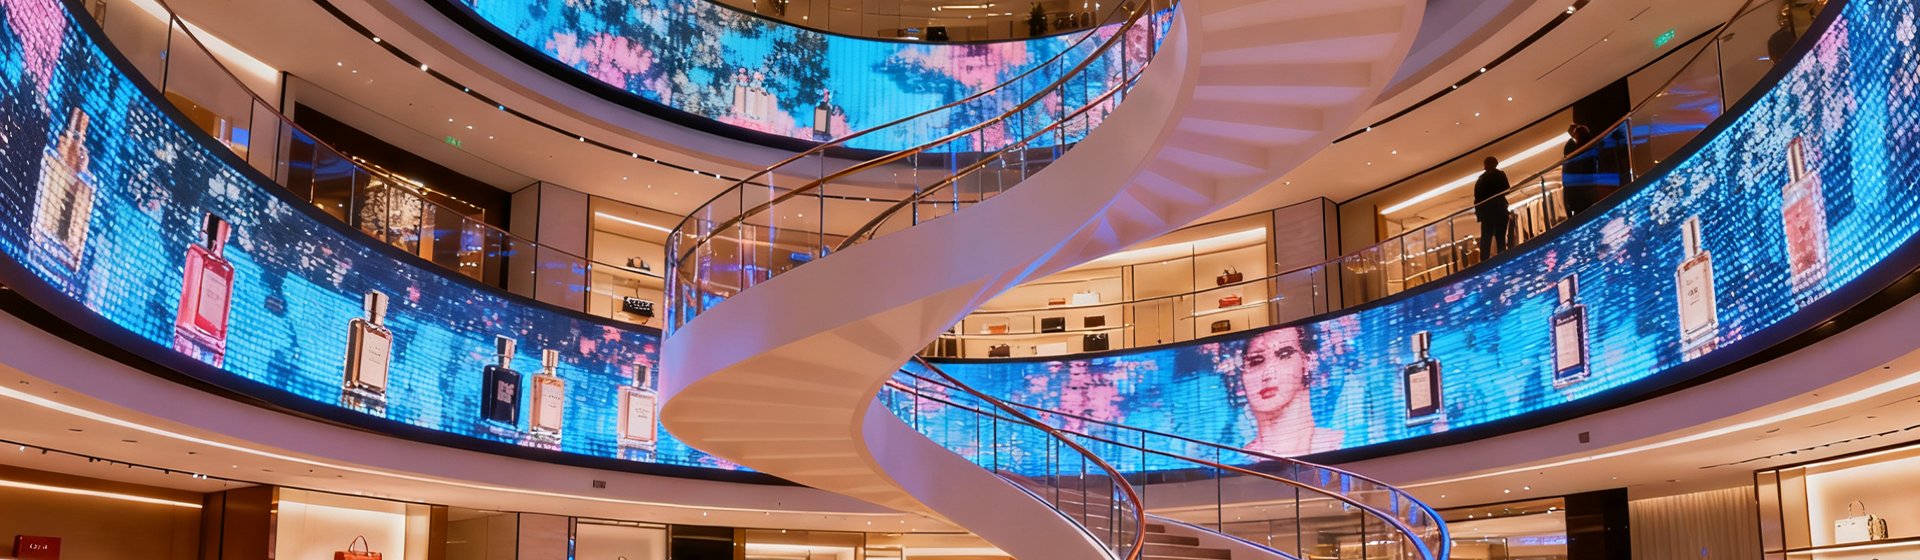
Contract terms and hidden costs
Watch for warranty fine print. Does the warranty cover LED module degradation measured in nits over specific hours? You need clear test parameters for lumen depreciation and a defined replacement window. Confirm whether travel and labor are billed separately for on-site fixes. Those hidden costs add up faster than most folks expect — and they’re the reason a seemingly cheap panel turns expensive.
Three golden rules for choosing the right setup
1) Match pixel pitch to viewing distance and expected camera framing. Keep the math simple: closer audiences need tighter pitch; broadcast needs higher pixel density. 2) Prioritize reliable control electronics and firmware support over marginal image gains; stable timing and consistent refresh beat flashy specs. 3) Insist on serviceability: modular cabinets, documented spare parts lists, and local tech partners. Follow these and you cut downtime and keep content looking sharp.
Practical choices win out over shiny promises — the makers who back their gear with clear specs and field-ready support are the ones that actually save time and money on site. Coblinks. —

