

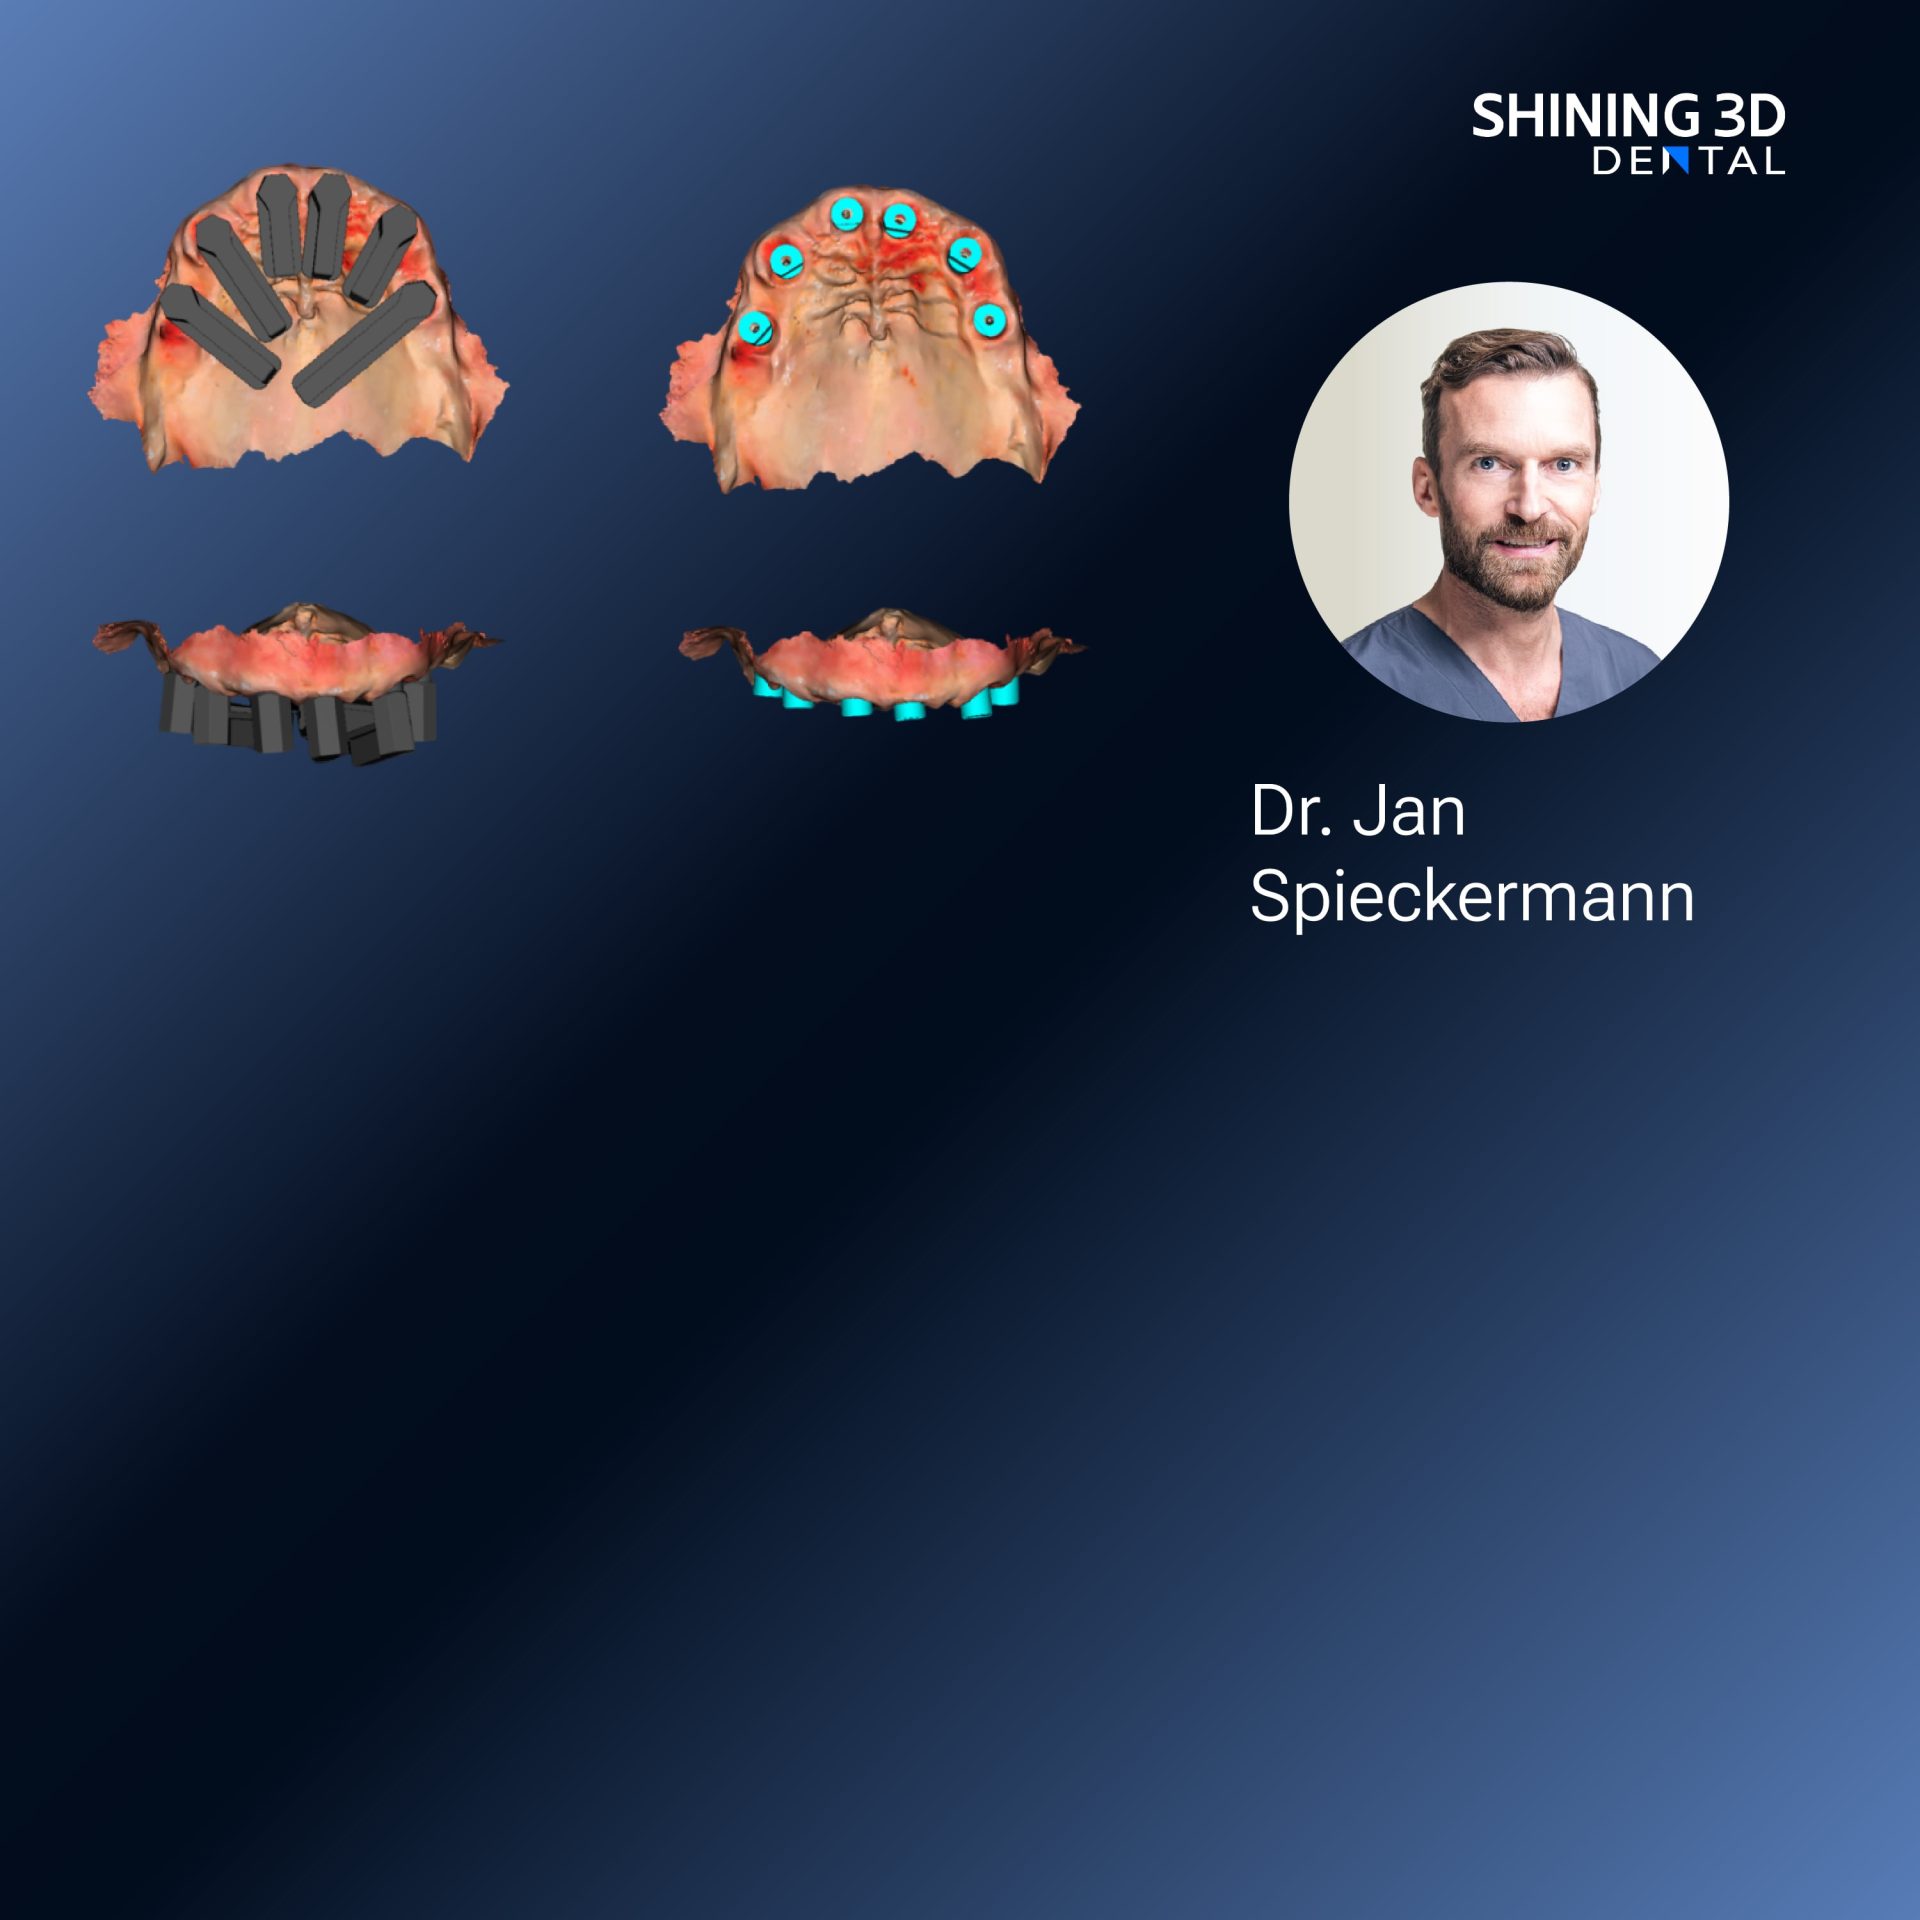
Framework overview and intent
This framework delineates a structured approach to extraoral and intraoral 3D capture with emphasis on lighting, positioning, and file governance; it is designed for clinicians and laboratory technicians who must convert accurate scans into reliable physical models and restorations, often paired with a dental resin 3d printer for final production. The framework defines clear objectives for each stage of capture, prescribes repeatable practices, and sets the expectation that scan data must be verifiable, traceable, and suitable for downstream CAD/CAM processes.
Principles and measurable objectives
Begin by stating measurable objectives: level of surface detail required, acceptable dimensional tolerance, and intended downstream use (diagnosis, appliance fabrication, prosthetic milling or printing). Specify which anatomical zones are critical for your case—margins, occlusal contacts, interproximal areas—and set inspection criteria for each. A framework anchored to explicit objectives reduces variability and directs the technical choices that follow.

Controlled illumination: techniques and parameters
Prefer diffuse, neutral illumination to eliminate directional glare. Use LED panels with stable output and a color temperature near 5000 K to maintain realistic color rendition when color data are necessary. Apply cross-polarization or a polarizing filter to reduce specular highlights on enamel, saliva, or glossy impressions. For glossy casts, consider a fine, reversible matte agent only when the scanner’s manufacturer recommends it; document its use in the file metadata. Keep lighting geometry consistent between sessions to ensure reproducibility.
Orientation and motion control for consistent scans
Stabilize the subject or object. For extraoral face captures, use headrests and defined gaze targets; for intraoral scans, employ bite supports and sectional scanning sequences. Maintain a nominal working distance recommended by the scanner maker and keep the scanner surface approximately perpendicular to the local anatomy when capturing critical margins. Scan in systematic passes—interface first, then occlusal and finally buccal/labial—so overlap and registration points are predictable. Avoid abrupt rotations that introduce motion blur and break stitching algorithms.
Data capture workflow and file management
Select file formats that preserve necessary attributes: STL for geometric fidelity without color, PLY or OBJ when texture or color mapping is required. Maintain a naming convention that includes patient initials or code, date, anatomic region, and capture version. Store raw capture files alongside processed meshes; do not overwrite originals. Implement a version-control folder for iterative corrections and export a locked final file for CAD. Ensure backups are on secure, redundant storage with audit logs to support traceability.
Quality assurance checkpoints and common mistakes
Introduce checkpoints at acquisition, immediate review, preliminary processing, and pre-export. Common errors include incomplete marginal capture, stitching seams at occlusal contacts, under-sampled thin edges, and unintended scale changes during export. Correct these by rescanning targeted zones with shorter passes, increasing overlap, or adjusting sampling resolution before smoothing. Always validate scale against a calibrated reference object or known dimensions in the model.
EEAT: evidence, experience, and a real-world anchor
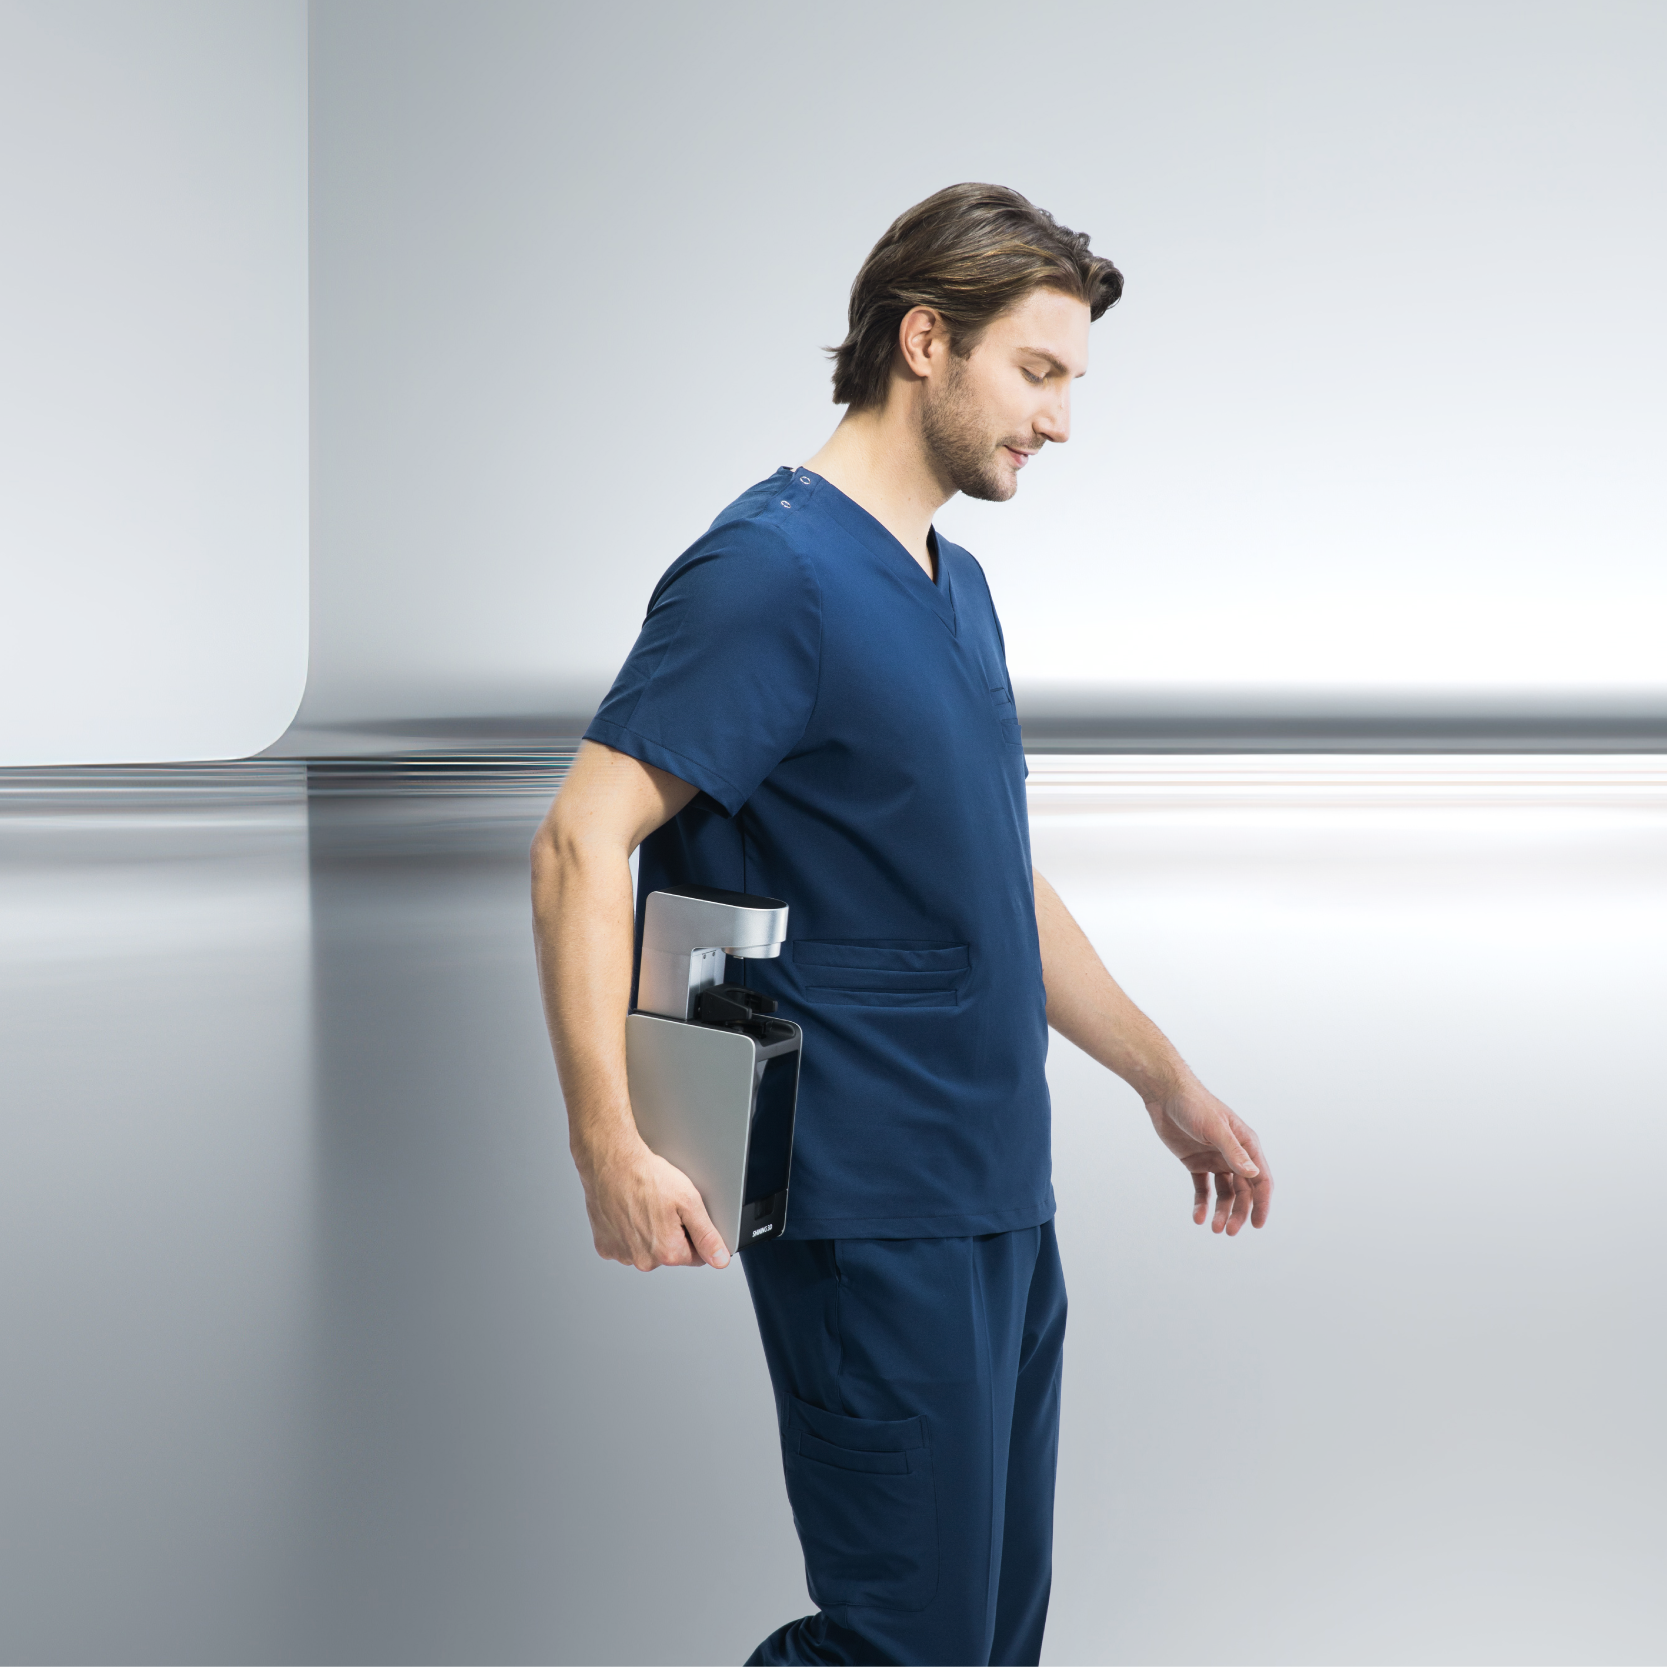
Practical experience from laboratory bench trials and clinical workflow audits underpins this framework: consistent application of the steps above reduces rework and remakes. At the AEEDC Dubai professional exhibition and associated technical sessions, clinicians and lab engineers evaluated table-top integrated systems and the combination of capture plus local fabrication; one such system was demonstrated alongside a capsule 3d dental printer, which illustrated how scan fidelity translates into printable model fidelity when protocol adherence is maintained. Rely on controlled comparisons and documented bench metrics rather than anecdote when choosing system settings.
Alternatives and complementary technologies
Structured light, laser triangulation, and photogrammetry each offer trade-offs. Structured light is fast and reliable for casts and faces; laser triangulation can excel on complex occlusal geometry; photogrammetry scales well for larger extraoral captures. Complementary tools—reference markers, calibration fixtures, or intraoral retraction aids—improve registration and reduce artifacts. When choosing an acquisition path, map each technology’s strengths to your documented objectives rather than general preference.
Final synthesis and practical outcome
Follow the framework: define objectives, control illumination, fix orientation, enforce data governance, and verify at checkpoints. Doing so produces scan data that are reproducible, diagnostically useful, and directly transferable to fabrication workflows; this chain—capture through to model production—is the practical value that reputable providers demonstrate in clinical and laboratory settings, a value exemplified by teams working with SHINING 3D DENTAL who integrate measurement discipline with production capability to reduce iterations and secure predictable outcomes.

